Forward Calls to External Number
Miscellaneous Destinations
Forward calls to a miscellaneous destination
Instructions
1. Log into your account by visiting https://my.ringplan.com
2. Open your DialPlan menu by navigating toPBXand then click onDialplanfrom the dropdown menu.
From the open tabs selectMISCDESTS
Or click the link: https://my.ringplan.com/pbx/dialplan
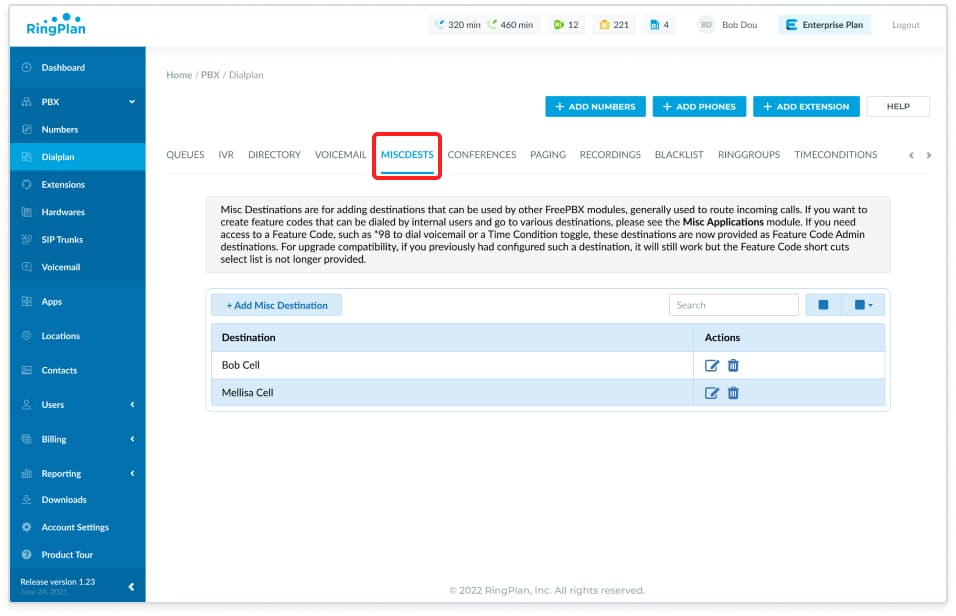
3. Click onAdd Misc Destination

4. Input theDescriptionsuch as “Bob Cell” and enter the destination phone number in theDialparameters field.

Notice: Remove spaces and special characters when entering a phone number.
Phone numbers should include area code.
5. Now we must assign a phone number to route to your new Miscellaneous Destination created in steps 3 and 4.
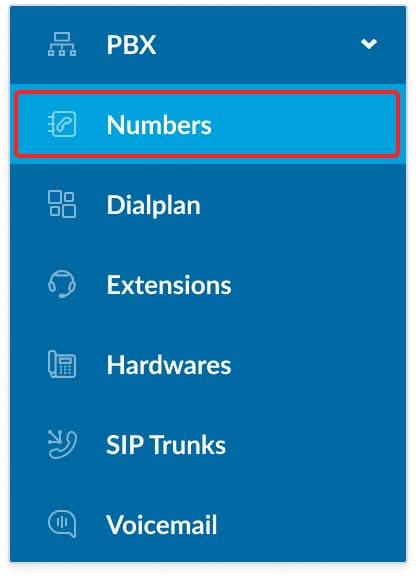
Navigate toPBXand from the submenu selectNumbers
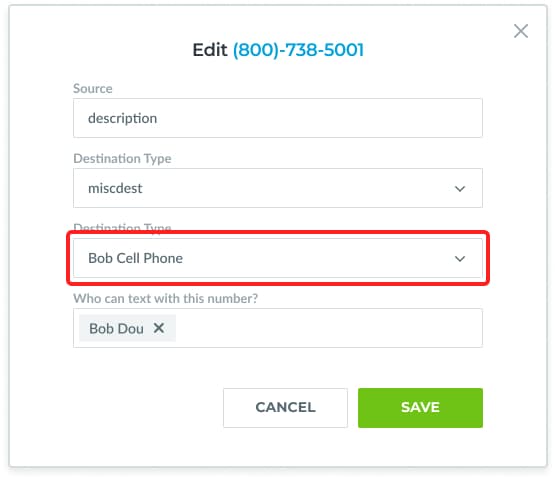
6. Find the phone number you wish to forward. Hover over your phone number and click on thePencil Iconthat appears in the right column to edit.
7. Set yourDestination TypetoMISCDEST
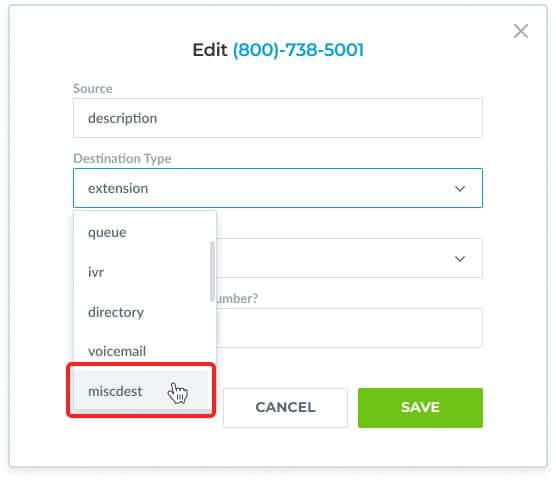
8. To set yourDestination Value, click on the dropdown menu and look for the name of your newMISCDESTcreated in step 4, for example “Bob Cell”
Click onSave
9. Make aTest Callto the number to confirm it forwarded as expected.

